As if there wasn’t enough work to do planning a company event, getting RSVP replies can be one of the most daunting tasks of all. Getting your guests to respond and building your final head count can sometimes be like herding cats.
In this post we’re going to show you how to use a text RSVP app to allow your guests to send their RSVP replies via text message and, in turn, get you your head count faster.
Step 1: Build your guest list
Like most events, you’ll first want to plan out your guest list so you know where to send your invitations. Be sure to group your guest list into “parties” because we will use this later for our invitations. You can use whichever guest list tool for this step (spreadsheet, word document, app, etc.)
Step 2: Sign up for Replied App and create your event
To gather your RSVP replies automatically, you’ll want to navigate over to Replied App and sign up for an account (for free). Login and create your event and be sure the event title is descriptive (example: Rose LLC’s Annual Leadership Conference). Also include your name or company name in the event planner field.
Once your event is created, you’ll want to click “Activate” on the left side of the screen to activate text message RSVPs. Look back at your guest list and count the number of parties that you have (this is the same as the number of invitations you’ll send). This will be the number of text message RSVPs you’ll need for your event. Select the corresponding text RSVP tier, enter your payment information and activate.
For additional information and screenshots, take a look at the event setup guide on Replied App Blog
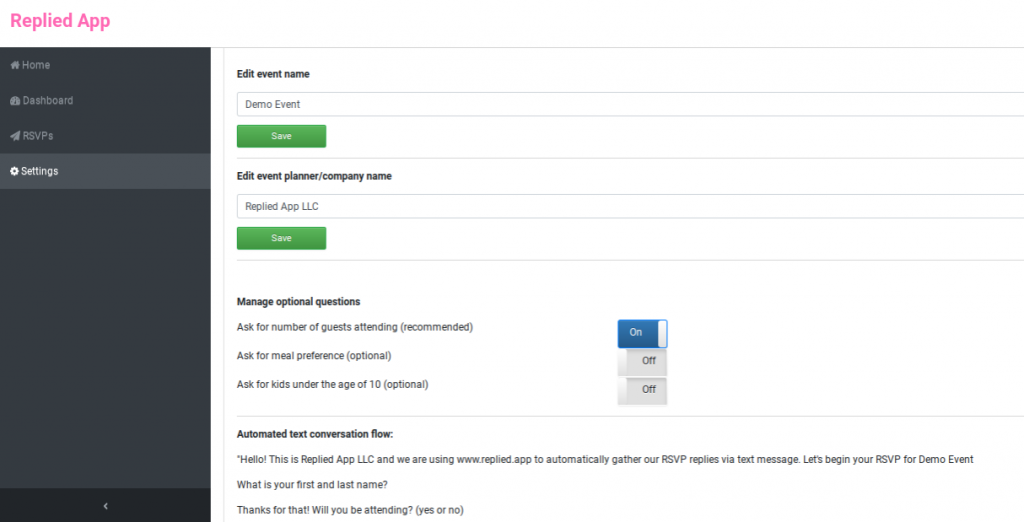
Step 3: Event Settings
After you activate text RSVPs for your event, you’ll be sent to the event settings page where you can select if you want to gather meal preference and kids under 10 in addition to the number of people who will be attending. Both of these settings are optional but are useful if you have catering planned for your event. If you don’t want to use the additional settings you can skip this step.
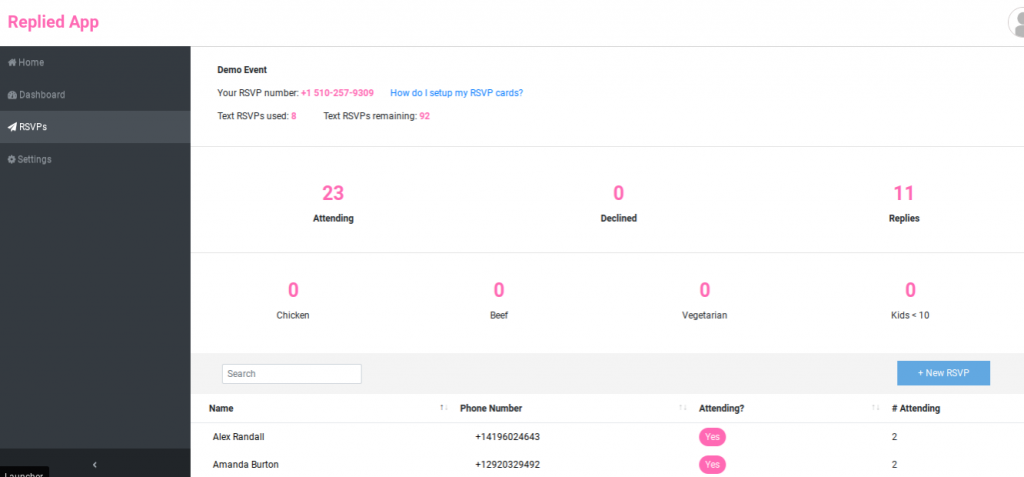
Step 4: Get your text RSVP app phone number
Once you have your settings how you want them, click “RSVPs” on the left side of the screen. At the top of the page you will see your dedicated text RSVP phone number. We will use this number in the next step when we setup your invitations. Guests will text this number and the intelligent text RSVP system will automatically reply and ask them questions to complete their RSVP. You’ll then be able to view your RSVP replies and head count online in your dashboard on the Replied App website.
Step 3: Setup your invitations for text message RSVPs
For this text RSVP app, you can use any type of invitation you want (paper or digital). All that is required is that you include your dedicated text RSVP number and a message instructing your guests to text the number to complete their RSVP reply. An example is included below, but most event planners put a message that says:
We can’t wait to see you, please RSVP by [your event date]. To reply, text “hello” to [your dedicated text rsvp number].

Step 4: Sit back, and relax
Watch as your RSVP replies flow in and count up automatically. You can check your head count on your computer on the Replied App website, or if you’re on the go, easily pull up the website on your phone and instantly view your RSVP replies.