
Step 1 – Create your invitations
For our example, we will be using the invitation builder app on minted.com. Minted is one of the most popular websites for creating wedding invitations and they have many beautiful templates. Not to mention, their online wedding invitation editing app is very easy to use.
Head over to minted.com and search for wedding invitation with RSVP card. Pick any one you like. For this example we are using the “watercolor delight” template which includes wedding invitations, RSVP cards, and thank you notes.
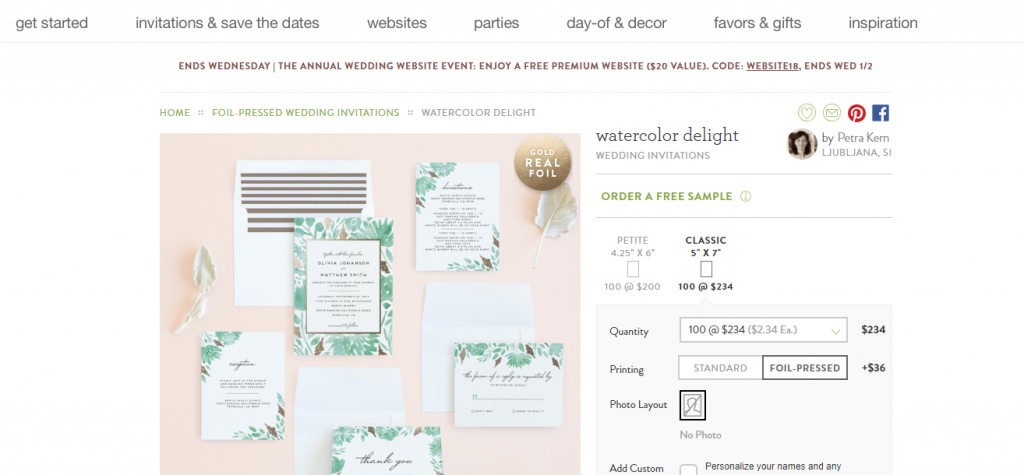
Edit your wedding invitation by scrolling down the page and clicking “Personalize.” This will open the wedding invitation editor. The button can be easy to miss because you have to scroll past all the other options so be sure to scroll all the way down (the button will be big and green).
Once you click the “Personalize” button, you’ll be taken to the wedding invitation editor. The screen will look like this:
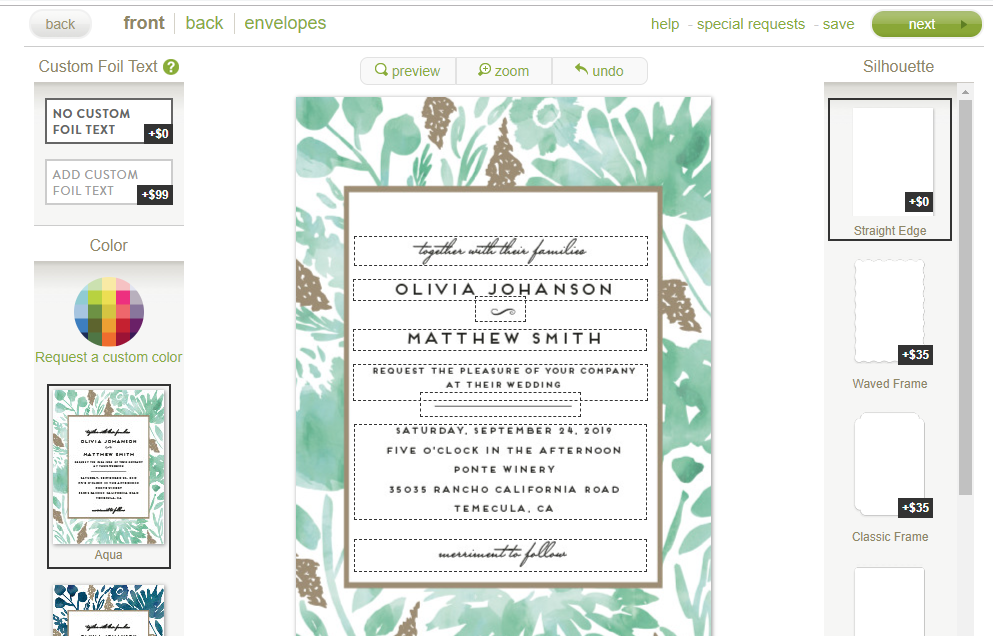
You can now begin editing your invitation. You’ll want to edit the wedding date, the couples names, and the location. You can actually remote any of the additional text if you would like. To edit text, click in the dotted outlined box where the text is and a pop up will appear that will let you edit the text. When you are finished typing in the text that you want, click on “apply” and your changes will be saved to the template.
*side note: make sure you create an account with minted.com and login so that your changes to your wedding invitation will be saved.
Once you have your wedding invitation looking how you want it, hit “save” in the top right corner of the screen. Next we’ll move on to setting up your RSVP cards for text message RSVPs.
Step 2 – Setup your RSVP cards for text message RSVPs
To setup your wedding for text message RSVP replies, we need to edit the RSVP cards using the minted.com template editor (again). To get started, go back to the watercolor delight template page (or whatever template you’re using) and scroll down until you see RSVP cards. Click the dropdown that says “add” next to RSVP cards and select how many RSVP cards you’ll need (1 per invitation). Keep clicking “next” and you should see your RSVP cards and a “Personalize” button like the one we used for the wedding invitations.
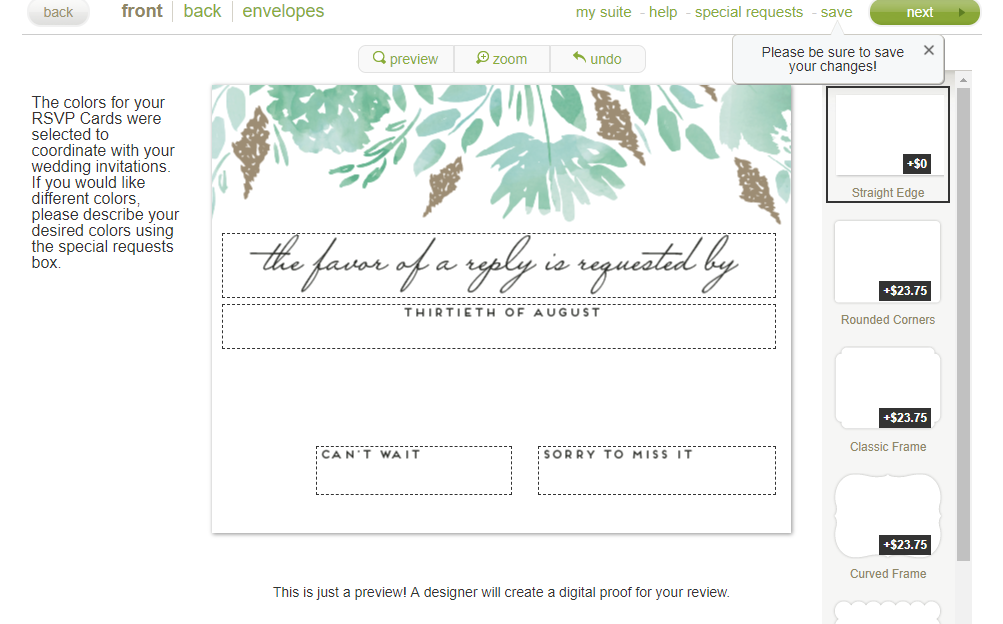
Same as before, click the text to edit your RSVP card. To setup this RSVP card for text message RSVPs, you’ll first want to delete the line where the guest would normally write in their name (we don’t need this for text message RSVPs). To remove it, grab the line with your mouse cursor and drag it off the RSVP card, this will make it disappear. Do the same thing with the “M” that was in front of the blank line. All that should be left is a few text boxes and we will be using all of them. See below:
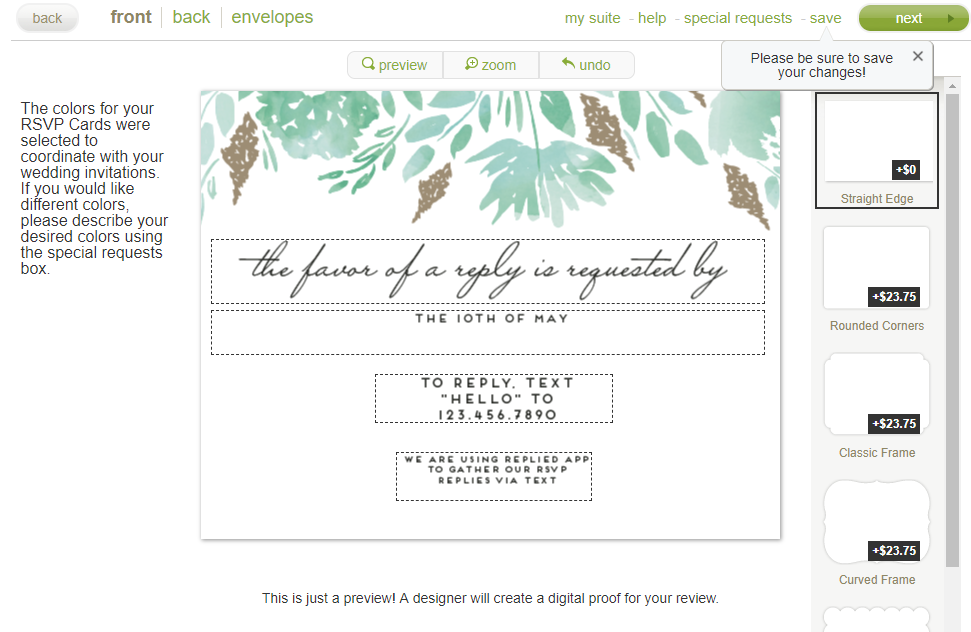
Now we are going to add our Replied App text message RSVP number to the RSVP card and change the wording of the RSVP card. Leave “the favor of a reply is requested by” and click the text that says “thirtieth of august.” Change this text to read the due date that you want your RSVP replies by (usually a month before your wedding). Next, grab one of the additional text boxes near the bottom and write “To reply, text hello to 123.456.7890” and obviously enter your Replied App RSVP number instead of the one we are using. Make this text slightly larger than the other text boxes (we want your wedding guests to see it).
The next step is optional, but is helpful to your guests because it lets them know you are automatically gathering your RSVP replies via text message. Edit the last text box and type in “We are using replied app to gather our RSVP replies via text message.”
And that’s it! You’re all done and your RSVP card should look like the one below:
Step 3 – Mail your invitations with RSVP cards
Next, complete your order on Minted.com and your invitations and RSVP cards will arrive in the mail within a couple days. If you went through all the proper steps with your wedding invitations, your envelopes will already be addressed with your guests’ addresses. All you should have to do it pop your invitations in the mailbox.
Step 4 – Sit back, and Watch your RSVP replies come in and tally up automatically
Once you send out your invitations, you can login to your account on replied app and begin monitoring your RSVP replies. As RSVP replies come in, your total guest count will go up. This is far easier than receiving paper RSVP cards in the mail and having to count them separately and track them in a spreadsheet (or on a piece of paper).